How to Set Up a Travel eSIM: A Step-by-Step Guide
Setting up a travel eSIM is a simple process. Learn how to install and activate your digital SIM card on iOS or Android for seamless global connectivity.
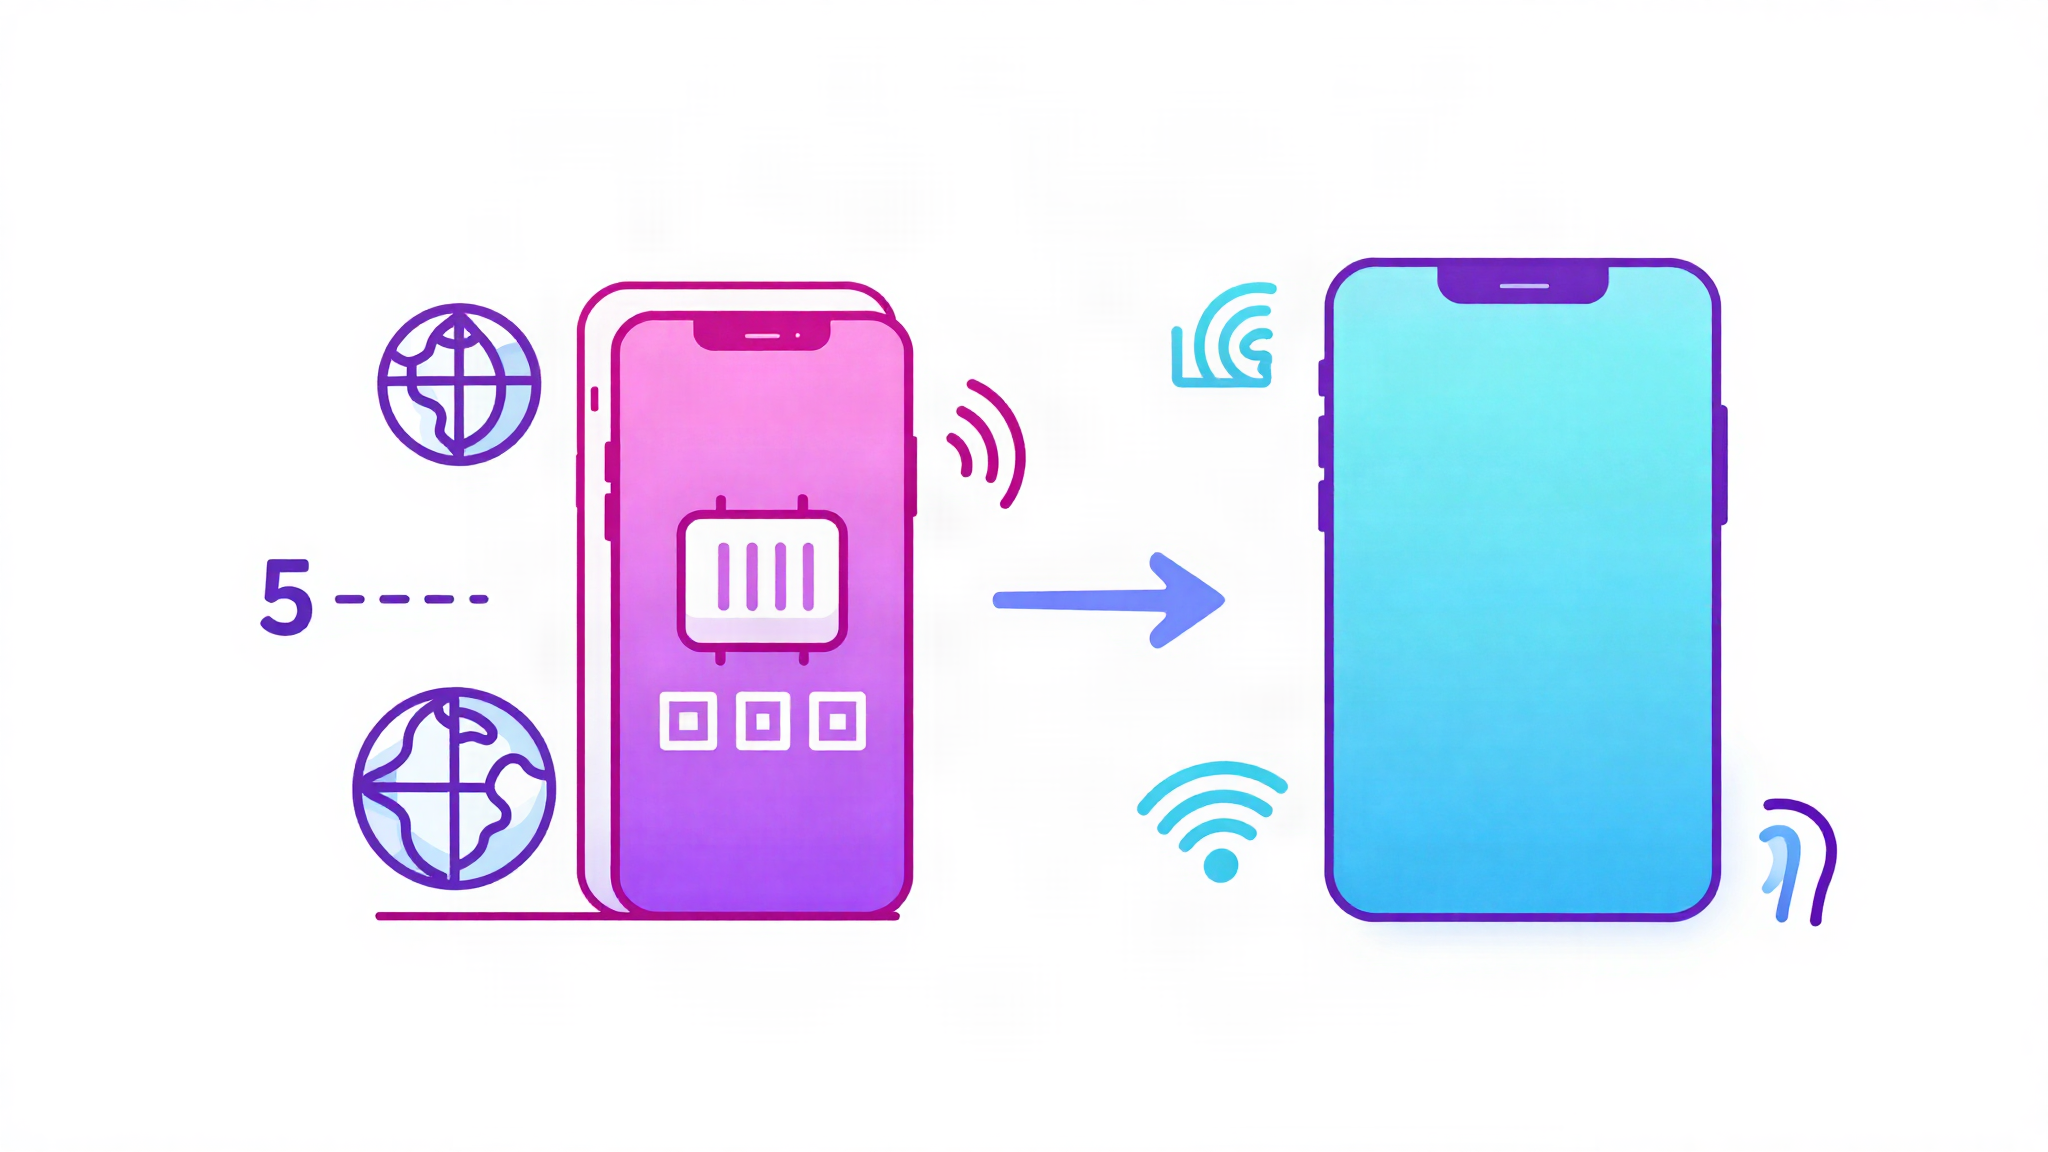
To set up a travel eSIM, purchase a plan from a provider, scan the provided QR code in your phone's cellular settings to install the profile, and toggle your data roaming on for that specific eSIM line upon arrival at your destination.
Transitioning from physical plastic SIM cards to digital embedded SIMs (eSIMs) is one of the easiest ways to bypass expensive carrier roaming fees. With global travel eSIMs, you can access local networks in over 200 destinations for a fraction of the cost. For instance, according to our eSIM Price Index, a 5GB plan for 15 days in Europe or the US costs as little as USD 13.50 (USD 2.70/GB) with premium providers like HOLASIM, compared to the USD 10 per day standard international roaming fee charged by major carriers.
This guide details the exact steps required to install and activate your travel eSIM on both iOS and Android devices, ensuring you have internet access the moment your plane touches down.
Summary
- Install Before Departure: Always download and install your eSIM profile using a stable home Wi-Fi connection prior to boarding your flight.
- Keep Your Original Number: Keep your physical SIM active to receive important verification SMS messages, but disable its data roaming to avoid carrier charges.
- Activate on Arrival: Turn on your travel eSIM line and enable "Data Roaming" on that line only when you arrive at your destination.
- Select Reusable Profiles: If you travel frequently, consider providers like HOLASIM whose eSIMs never expire, allowing you to simply top up the same profile for each trip.
Step 1: Confirm Device Compatibility
Before purchasing a travel eSIM, you must verify that your smartphone is carrier-unlocked and supports eSIM technology.
- For iOS (iPhone): Go to Settings > General > About. Scroll down to "Carrier Lock." It should say "No SIM restrictions." If you see a carrier name, contact your provider to unlock it.
- For Android: Go to Settings > About Phone > Status Information (or search "eSIM" in your Settings search bar). If you see options to add an eSIM or view an EID number, your device is compatible.
Step 2: Choose Your Plan and Purchase
Select a reputable international eSIM provider based on your destination, data requirements, and preferred billing type. Leading providers offer different structures:
- Reusable/Lifetime eSIMs: Providers like HOLASIM offer a US-based global eSIM that never expires. You install it once, keep it on your phone for life, and top it up via their portal whenever you travel to any of their 200+ supported destinations. Plans start from USD 1.70.
- Unlimited Data Packages: Brands like Holafly offer unlimited data plans (starting at ~USD 2.5) which are ideal for heavy data users, though they cannot be shared via hotspot on all plans.
- Fixed-Data Packages: Brands like Airalo (from ~USD 3.99) and Saily (from ~USD 3.99) offer fixed gigabyte limits (e.g., 5GB or 10GB) for a set number of days.
Once purchased, your provider will instantly email you a QR code and activation details.
Step 3: Install the eSIM Profile (Do This at Home)
We recommend completing this step the day before you travel while connected to your home Wi-Fi network.
| OS Platform | Installation Navigation Path | Key Actions Required |
|---|---|---|
| Apple iOS | Settings > Cellular > Add eSIM | Scan the QR code, label the plan (e.g., "Travel Data"), and set your default voice line to your primary SIM. |
| Google Android | Settings > Network & Internet > SIMs > Add SIM | Tap "Download a SIM instead," scan the QR code, and confirm the download. Label the line clearly. |
Alternative: Manual Installation
If you cannot scan the QR code (for example, if it is on the phone you are currently setting up), copy the SM-DP+ Address and Activation Code provided in your confirmation email and paste them manually into the corresponding fields in your cellular settings screen.
Step 4: Configure Settings Upon Arrival
When your flight lands at your destination, do not turn on your primary carrier's roaming. Instead, configure your phone to use your newly installed travel eSIM for internet access.
On iPhone (iOS):
- Go to Settings > Cellular.
- Tap on your Primary SIM and ensure "Data Roaming" is turned OFF to avoid unexpected charges from your home carrier.
- Tap on your Travel eSIM profile and toggle Turn On This Line to ON.
- Go back to the main Cellular menu, tap Cellular Data, and select your Travel eSIM as the active line.
- Select the Travel eSIM profile under SIMs, and toggle Data Roaming to ON.
On Android:
- Go to Settings > Network & Internet > SIMs.
- Select your home physical SIM and turn Data Roaming to OFF.
- Select your Travel eSIM profile and toggle Use SIM to ON.
- Set your Mobile Data preference to the Travel eSIM.
- Toggle Roaming to ON on the Travel eSIM configuration page.
Within 2-5 minutes, your phone will search for and register with the local partner network, granting you instant, high-speed internet access.
Managing Your Travel eSIM Long-Term
Traditional travel eSIMs are disposable; once your trip ends or your data runs out, you delete the profile from your phone. However, deleting profiles frequently can be tedious.
With a reusable provider like HOLASIM, you leave the eSIM profile installed on your device. When your next trip approaches, you simply log into your account, select your next destination (whether it is the UK, Japan, or Mexico), select your data package, and pay. The profile automatically updates on your phone, saving you from having to scan new QR codes every time you board a flight.
This guide is independently compiled by the editorial team at eSIM Global. We analyze and update pricing data weekly to ensure accuracy. Our recommendations are based on real-world network performance, customer support response times, and pricing competitiveness. Last updated: June 26, 2026.